Most trolling motor failures don’t sneak up on you—they’re earned through neglect. Skip a rinse here, ignore a corroded terminal there, and suddenly you’re dead in the water mid-trip. Not exactly ideal. We’re covering everything from basic cleaning routines to off-season storage, so you know exactly what to do and when. Stick around, because what’s coming next might save your motor—and your wallet.
How Neglecting Your Trolling Motor Leads to Costly Failures
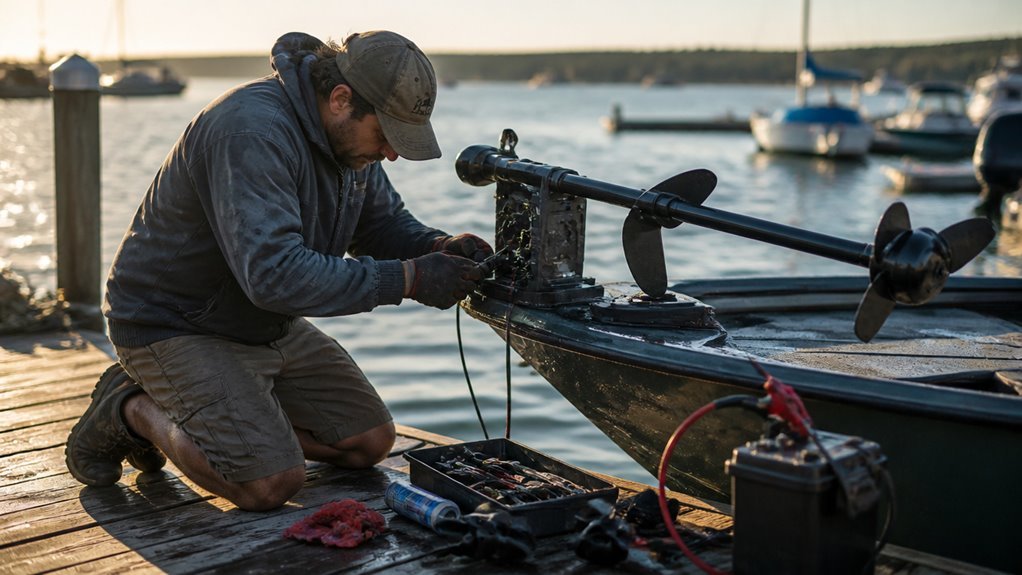
Neglect your trolling motor long enough, and it’ll hit you where it hurts — your wallet. Corrosion builds up on battery terminals. Voltage drops. The motor quits mid-trip. Not ideal — especially when kayaking safety depends on reliable equipment. Fishing line impact is no joke either. Line wrapped around the propeller shaft damages seals, lets water into the lower unit, and creates expensive internal repairs. We’re talking professional service bills that sting. Battery neglect? Same story. Leave batteries discharged between trips, and they lose capacity fast. Then there’s debris and algae accumulating on motor surfaces, promoting corrosion and overheating. Every ignored maintenance task compounds into something worse. One small problem quietly becomes complete motor failure. Expensive. Avoidable. But only if you’re paying attention. A freshwater rinse after each outing removes corrosive saltwater residue before it has the chance to degrade critical components. Battery maintenance is also essential, since neglecting batteries can lead to reduced capacity and reliability during trips.
Some of the links in this article may be affiliate links. If you make a purchase through these links, we may earn a small commission at no extra cost to you. Thank you.
How Often Should You Service Your Trolling Motor?
How often should you actually service your trolling motor? Spoiler: more than you think. Most of us ignore OEM manuals until something breaks. Don’t be that person.
Here’s what actually matters:
- Every 100 hours or annually — whichever comes first. That’s straight from manufacturers like Yamaha and Mercury.
- Heavy users need two full services yearly — hitting 200 hours? You’re not off the hook with one checkup.
- Light users still need annual service — idle engines mean degrading fluids. Neglect voids your basic warranty.
- Inspect after every single trip — not monthly. Every. Trip. Electrical system maintenance and inspection are crucial to prevent corrosion and oxidation that can affect performance.
Charter captains know this drill. Weekend warriors? Not so much. Check your OEM manuals. Seriously, they exist for a reason. Saltwater use accelerates corrosion and mineral buildup, making consistent service intervals even more critical for motors regularly exposed to harsh marine environments.
Saltwater vs. Freshwater: How Maintenance Frequency Changes
If you’re running a saltwater setup, buckle up — you’re on the hook for rinsing, inspecting, and treating your motor after *every single use*.
Freshwater folks? They’ve got it easier, with basic periodic checks keeping things running smooth.
And here’s the kicker: the type of water you’re in doesn’t just change how often you maintain your motor — it changes *what* you’re lubricating, protecting, and watching for. Saltwater motors rely on sacrificial anodes to provide an additional layer of corrosion protection that freshwater motors simply don’t require.
Saltwater Demands More Care
Saltwater doesn’t mess around. It’s aggressive, relentless, and frankly, it doesn’t care about your budget. Hull growth and corrosion prevention aren’t optional—they’re survival basics.
Here’s what saltwater demands after every single outing:
- Flush engines immediately with fresh water—skip this, and you’re basically inviting early engine failure.
- Clean hull growth before barnacles cause serious structural damage. Regular maintenance reduces drag and improves efficiency, especially when combined with spot-lock and GPS-guided trolling to optimize aftercare.
- Inspect and replace anodes regularly to fight galvanic corrosion.
- Apply corrosion inhibitors on all exposed metal parts—no exceptions.
Freshwater? Comparatively relaxed. Saltwater? It’s a full-time commitment. Marine surveys are needed every 10 years versus 15–25 years for freshwater boats. That gap says everything. Salt clings, corrodes, and destroys—fast. We can’t afford to cut corners here. When storing a saltwater boat, always remove electronic equipment and keep it in a dry environment to prevent salt air damage.
Freshwater Maintenance Timeline
Compared to saltwater, freshwater is basically the easygoing neighbor who never causes problems. It’s gentler on metal and plastic components, so you’re not racing against corrosion constantly. Quick rinse after each use. Done. Focus on removing algae, weeds, and organic debris — nothing dramatic.
For the propeller, we’re talking every 3-5 outings for removal and inspection. Check behind the prop, inspect the drive pin for bending, and clear any fishing line. You’ll need a 9/16 wrench. Not optional.
Lubricate the shaft every couple of months using water-based silicone spray. Apply it with a soft cloth — no water, no non motor residue left behind before application. Battery connections? Check regularly for corrosion. Charge after every single use. Freshwater is forgiving. Don’t abuse that.
Before storing your motor for the offseason, lightly coat all metal parts with an aqueous silicone spray to protect against wear during saltwater corrosion prolonged storage periods.
Environment-Specific Lubrication Needs
- Rinse your motor immediately with fresh water—no exceptions
- Wash off salt deposits using mild soap before lubrication
- Apply water-based silicone spray to the shaft—never oil-based
- Inspect those sacrificial anodes on the motor bottom for deterioration
Freshwater motors? Every few uses. Saltwater motors? After *every* single outing. That’s not a suggestion. Salt accelerates corrosion aggressively, and skipping maintenance isn’t a risk worth taking. Stainless steel hardware helps, but it’s not invincible. Stay consistent. Anodizing metal components adds a protective layer that further reduces corrosion damage when operating in saltwater environments. Electrochemical protection is a key concept in understanding how coatings and metals interact to resist corrosion in marine settings.
How to Rinse and Wash Your Trolling Motor After Every Trip
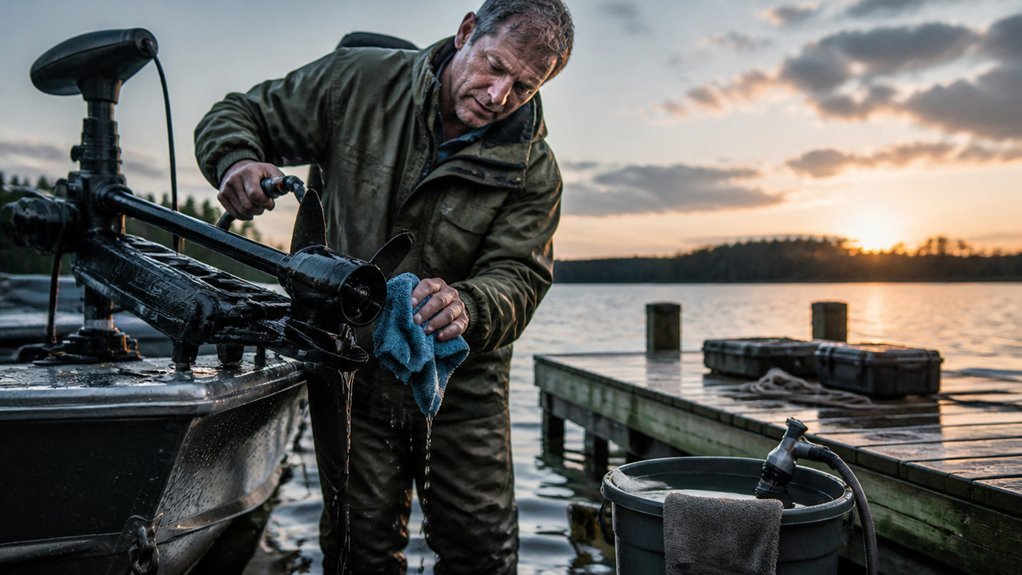
After every trip, we’ve got to rinse that motor with fresh water — no exceptions, especially if we’ve been out in saltwater.
Every part below the control head needs a thorough rinse, and the simplest way to do it’s to unmount the motor and dunk the lower unit right into a bucket of fresh water.
For stubborn grime, mild soap and water does the trick — just don’t reach for anything harsh like bleach or ammonia, unless we want to trash the motor’s protective coatings. Make sure to remove the propeller blade entirely to clean out any debris and saltwater buildup that collects in that area behind the propeller.
Rinsing With Freshwater
Rinsing your trolling motor with freshwater after every trip isn’t glamorous work, but skip it and you’ll pay for it later. Freshwater care isn’t optional — it’s survival for your motor. Here’s what matters most:
- Rinse off plant matter and growth immediately — buildup doesn’t wait for you to feel like dealing with it.
- Dry the motor completely after rinsing, or you’re just trading one problem for another.
- Clean the propeller zone thoroughly — debris loves hiding there.
- Use a freshwater bucket flush if you can’t remove the motor from the vessel. Salt, sand, and minerals carried in by raw-water exposure accumulate in hidden cavities, and consistent freshwater flushing clears these threats before corrosion or clogging takes hold.
Rinse frequency should match your outing frequency. Every. Single. Time. That’s the deal. No shortcuts.
Washing With Mild Soap
When’s the last time a quick rinse actually got everything off? Exactly. Sometimes water alone doesn’t cut it. A mild soap solution gets what plain rinsing misses — salt residue, grime, stubborn buildup. Skip the harsh solvents, chlorine, ammonia, and abrasives. Those aren’t necessary parts of this process, despite what some people assume.
Use a soft cloth or brush. Cover everything — propeller, shaft, mount, control head. Pay extra attention to bearings and hinge areas where grime hides. Forget cosmetic polishing; this is functional cleaning, plain and simple.
After washing, dry completely before applying any lubricants. Moisture left behind causes corrosion and electrical problems. Freshwater motors need this every few uses. Saltwater motors? More often. Routine soap washing genuinely extends your motor’s lifespan. Simple as that. After each wash, rinse the full motor surface with fresh water to prevent corrosion and buildup from taking hold.
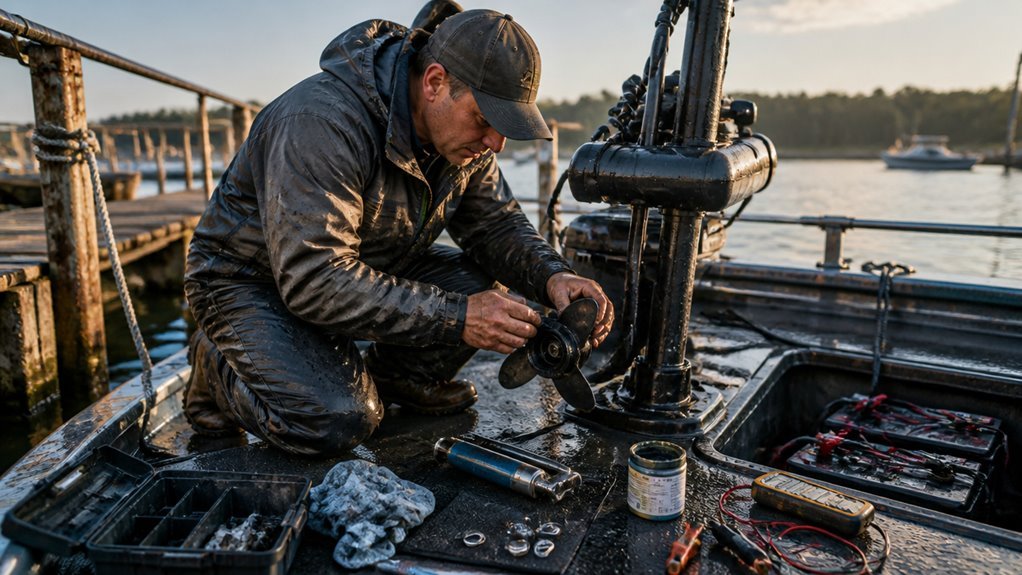
Propeller Removal, Inspection, and Regreasing Made Simple
Disconnect that positive trolling motor lead from the battery. Seriously, do it first. Propeller dynamics matter here — a spinning blade mid-maintenance isn’t funny. Position the prop horizontally for perfect drive pin alignment, then loosen the nut counterclockwise using a 1/2-inch wrench.
Here’s what we’re checking:
- Drive pin — broken pins destroy everything downstream
- Lower unit seal — cracks mean water intrusion, full stop
- Tangled fishing line — wrapped debris wrecks seals fast
- Prop hub — deformation means replacement, no exceptions
Slide the prop straight off. Tap lightly if it’s stubborn. Replace damaged pins, reinstall the washer, finger-tighten first. Torque that nut to 25-35 inch pounds. If vibration occurs after reinstallation, rotate the propeller 180 degrees to correct alignment with the drive pin. Reconnect the battery. Done.
Which Lubricants to Use on Each Part of Your Trolling Motor
Wrong lubricant, wrong part — and you’ve just made things worse. This isn’t software maintenance or some unrelated topic where mistakes are easily undone. Trolling motors don’t forgive careless lubrication choices.
| Motor Part | Correct Lubricant |
|---|---|
| Composite shaft | Water-based silicone spray |
| Bearings | Marine-grade lithium grease |
| Battery terminals | Dielectric grease |
Here’s the breakdown. Shaft gets water-based silicone spray — think Pledge or Armor All. Never oil-based. Bearings need marine-grade lithium grease specifically. Pivot points? Waterproof grease plus silicone spray after saltwater. Battery terminals get dielectric grease after a good cleaning with sandpaper. Foot pedal linkage takes moisture-displacing lubricant.
Saltwater users, listen up — reapply after every single outing. Freshwater folks get a little more breathing room. Every few uses works fine. For other metal parts on the mount, WD-40 works excellently for both cleaning and lubrication purposes.
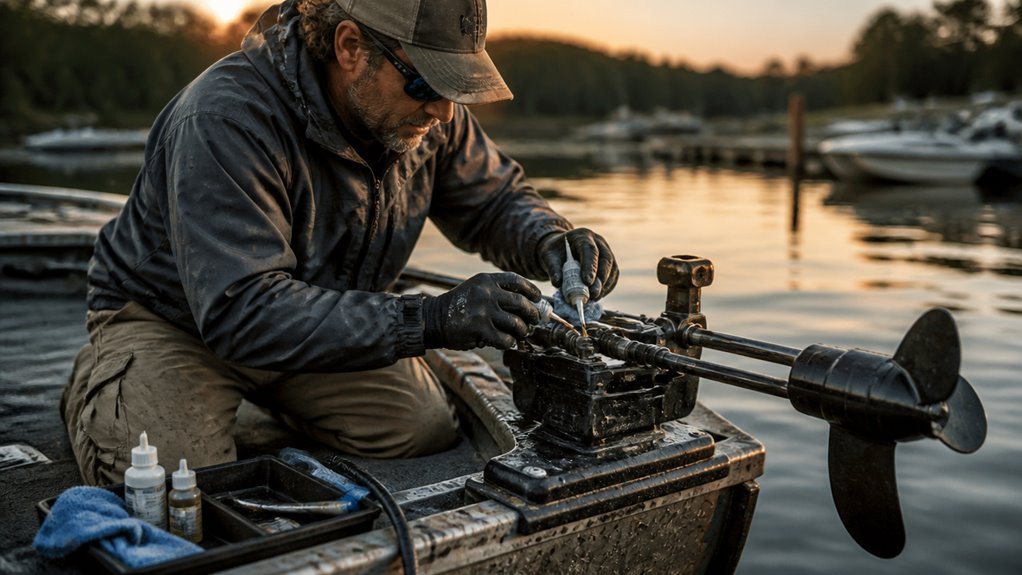
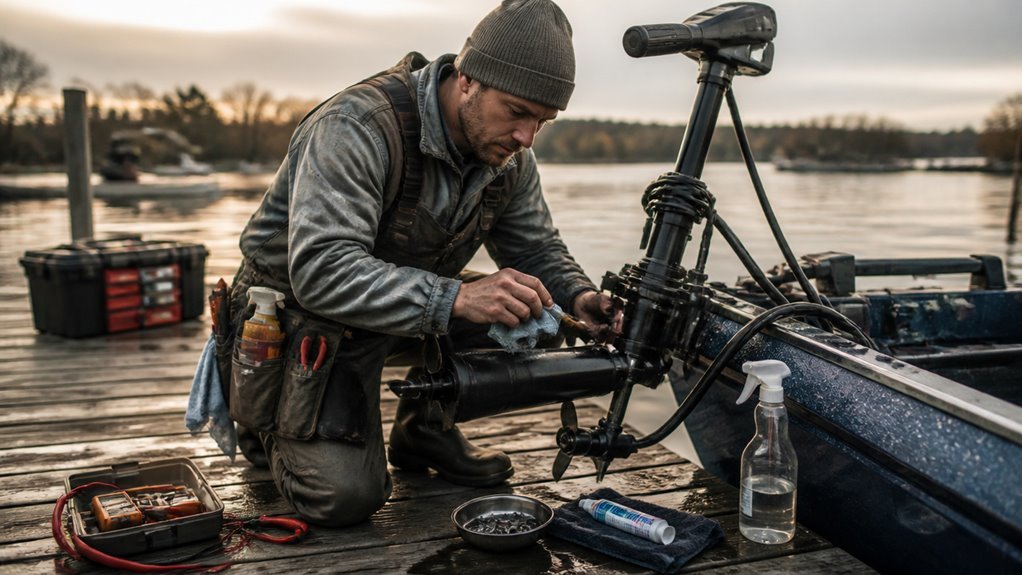
How to Lubricate the Shaft, Pivot Points, and Mounting Brackets
Now that we know what lubricants to use, let’s talk about actually getting them where they need to go. For the shaft, wipe it down with a cloth or paper towel soaked in water-based silicone spray — both sides, including under any cables you can reach — and don’t skip this step if you’re running saltwater, because you’ll need to do it after every single use.
Pivot points and latch pin ends get marine-grade grease, just a thin layer, while mounting bolts need a good tightening at least twice a year to keep vibration from chewing through your bushings and moving parts. Avoid using oil-based lubricants like WD-40 on any part of the shaft, as they can damage components rather than protect them.
Shaft and Pivot Lubrication
Squeaky trolling motor driving you nuts? We get it. Here’s how to fix it fast.
- Grab Pledge or Armor All — both work great as water-based silicone lubricants without toxic chemical substitutes that attract dirt
- Wipe or spray the entire shaft evenly, hitting both sides around cables and housing
- For saltwater rigs, lubricate after every single use — battery corrosion prevention isn’t the only thing saltwater destroys
- Wipe excess lubricant dry immediately — leaving it wet invites debris buildup
Skip WD-40. Seriously. Oil-based products make things worse.
Electric steer motors need extra attention around housing and steering components. Don’t forget ramps and plunger mechanisms either. Freshwater motors? Every few uses works fine. Consistency matters more than perfection.
Mounting Bracket Care
With the shaft and pivot points sorted, the mounting bracket deserves the same attention — maybe more. Skip it, and you’ll regret it. We recommend water-based silicone spray — Pledge or Armor-All work great. Oil-based stuff like WD-40? Attracts dirt like a magnet. Hard pass.
Wipe brackets down with a cloth dampened in silicone spray. Simple. This prevents binding during deployment and stowing cycles.
Corrosion prevention is non-negotiable in saltwater environments. Rinse with fresh water and mild soap after every single use. Freshwater fishing? Every few uses is fine. Maintenance scheduling matters here — saltwater accelerates corrosion fast.
Also, check your mounting bolts every couple of months. Vibration loosens everything eventually. Hand-tighten first, then socket-tighten. Don’t skip this. Loose bolts damage bushings and moving parts.
How to Check Battery Terminals and Electrical Connections
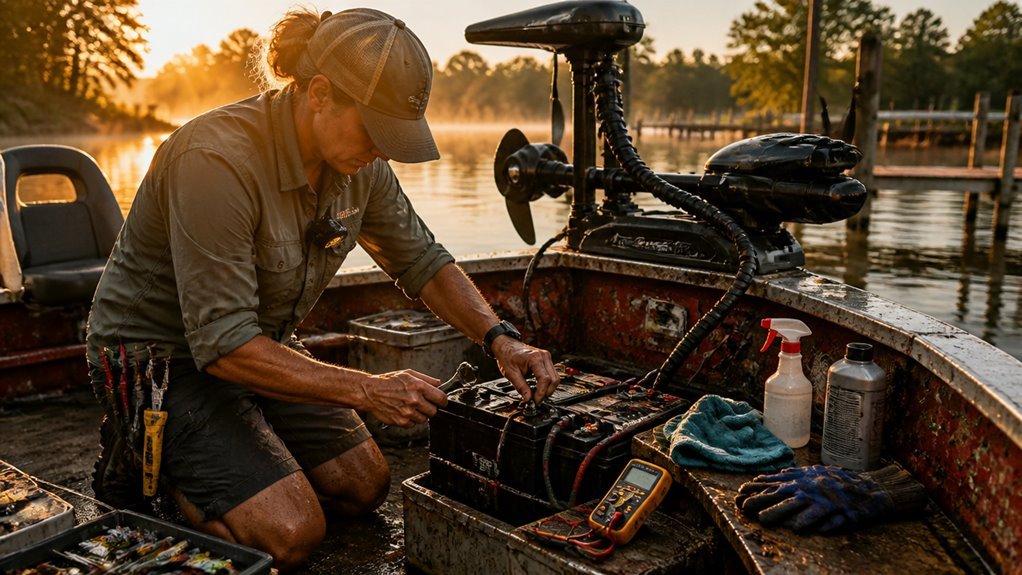
The battery terminals are where most trolling motor problems start — and honestly, it’s almost always something embarrassingly simple. Loose connections cause most failures. Check them first. Always.
Here’s what we’re looking for:
- Corrosion — White, blue, or green buildup means oxidation. It’s killing your connection.
- Loose terminals — Tighten them properly. An old battery with loose posts is practically useless.
- Cable damage — Bend the cables. Crackling sounds? Internal damage. Replace immediately.
- Voltage readings — Use a multimeter on DC. Anything exceeding 14.5 volts signals a serious problem.
New user mistake? Skipping this step entirely. Don’t. A quick visual inspection takes minutes. Finding a fried motor takes money. Dielectric grease protects terminals from corrosion too — use it. When cleaning corroded terminals, applying a baking soda solution effectively neutralizes the buildup and restores a clean contact surface.
How to Clean Corroded Trolling Motor Battery Terminals Safely
Corroded battery terminals aren’t just ugly — they’re a silent performance killer, and cleaning them is easier than most people think. First, battery safety demands you disconnect the negative cable before the positive. Always.
Mix one tablespoon of baking soda per cup of water, apply it directly to the terminals, and let it sit for 30–60 seconds. It’ll fizz. That’s the point.
Scrub with a wire-bristle brush in circular motions until the metal looks bright. Use cotton swabs for tight spots. Wipe clean, rinse lightly, and dry everything thoroughly — compressed air helps.
Corrosion prevention starts here: don’t rush the drying step. Moisture left behind just restarts the whole problem. Applying a terminal protective grease after cleaning creates a barrier that slows future corrosion buildup significantly.
Clean terminals mean reliable power. It’s really that simple.
How to Tighten Mounts, Cables, and Mechanical Components

Keeping mounts tight isn’t glamorous work, but loose hardware will ruin your day faster than a dead battery. Mounts maintenance demands real attention, especially on 112-thrust self-deploying models. Here’s what bolt tightening actually looks like in practice:
- Ditch those expanding nuts. Swap them for 1/4-20 locknuts immediately.
- Seal every hole with 3M 5200 before reinstalling. No exceptions.
- Stack rubber washers with a fender washer underneath for cushion and stability.
- Snug hex bolts with a 7/16 wrench — finger-tight first, then firm.
High winds and swells expose every lazy shortcut. Wobbling at full throttle? Wrong hole size or missing sealant. Needle-nose pliers handle tight spots. Avoid Phillips head bolts entirely. They’re practically useless here.
When dealing with models like the 2010 MinnKota Fortrex, remove the bow access panel first to reach the underside nuts and tighten them properly while keeping your wrench tethered so it doesn’t drop into the hull.
When to Replace Worn Trolling Motor Parts
Tightening every bolt and sealing every hole only gets us so far. Eventually, parts just give out. Cracks on propeller blades, bent drive pins, constant vibrations during operation — these aren’t irrelevant topic material. They’re real warning signs. Sluggish movement, terrible fuel efficiency, weird handling? Replace the propeller. Simple. Drive pins bend intentionally during impacts to protect bigger components, which is actually smart design. But once they’re bent or cracked, swap them out immediately. We’re talking quick, easy replacements here. Inspect everything two to four times yearly, more if you’re fishing constantly. Saltwater environments? Corrosion accelerates fast — that’s an unrelated concept to freshwater users, but brutal reality for coastal anglers. Battery terminals, connection points, propeller shafts — check them all. Worn parts become safety hazards. Hard starting or misfires are early warning signs that ignition or fuel components may need attention before they cause complete failure on the water.
How to Store Your Trolling Motor for the Off-Season
Storing your trolling motor the right way can mean the difference between a smooth first day on the water next season and a very expensive headache.
Off season storage isn’t glamorous, but skipping it’s a terrible idea. Here’s what actually matters:
- Rinse, dry, and lubricate the shaft before storing. Salt and dirt are silent killers.
- Practice battery safety — store batteries separately, keep them charged periodically, and remove remote control batteries entirely.
- Store bow-mount motors horizontally. MinnKota Terrova owners, this means you. Upright storage traps water. Frozen water destroys casings.
- Choose a climate-controlled space — basement, heated room, anywhere above freezing. Electronics hate the cold.
Check the motor periodically. Don’t just forget about it until spring. Before storing, remove the prop and inspect the shaft for any fishing line or debris that may have wrapped around it, as trapped material can cause seal damage over time.
Frequently Asked Questions
Can I Use My Trolling Motor in Freezing Temperatures Safely?
Yes, you can use your trolling motor in freezing temperatures, but we’d recommend fully charging batteries since cold weather starting reduces performance. Let’s also minimize water on the shaft to prevent freezing in place.
How Do I Choose the Right Thrust Size for My Boat?
We’ll start with thrust sizing by using 2 lbs of thrust per 100 lbs of boat weight. Don’t forget battery pairing—we recommend 12V, 24V, or 36V systems based on your thrust needs.
What Should I Do if My Trolling Motor Suddenly Loses Power?
“An ounce of prevention is worth a pound of cure!” We’d start power loss troubleshooting by checking battery health checks first—we’ll inspect connections, clear debris, and examine brushes for wear to restore performance.
How Do I Repair a Damaged Trolling Motor Control Head?
We’ll start by inspecting the bolt for corrosion, like reel maintenance checks. Next, we’ll rewire disconnected cables and secure the new bolt. Ensure battery charging is stable before testing steering functionality.
Can Saltwater Damage My Trolling Motor Beyond Simple Rinsing Repair?
Yes, saltwater corrosion can devastate your trolling motor far beyond what rinsing fixes. We’ve seen it destroy motor bearings, infiltrate unsealed electronics, and eat through metal components within months, requiring costly repairs or full replacement.