When we're out on the water, there's nothing more frustrating than when our trolling motors start acting up. Thankfully, we can tackle most of these issues ourselves with a bit of know-how. We should focus on the most common problems, from battery power troubles to pesky noise and vibration that keep our experience less than perfect. By understanding the frequently overlooked areas like wiring, propeller issues, and even steering controls, we'll empower ourselves to keep everything running smoothly. But, where do we begin, and what should be our first step in ensuring seamless operation every time?
Battery Power Problems
Dealing with battery power problems involves understanding both condition and maintenance. We're aware that for our trolling motors to run smoothly, proper attention to battery condition is vital. Regular battery maintenance is the key to keeping sulfation at bay. A charge that's too deep can seriously hurt performance over time. So, keeping our batteries in check with regular maintenance can help us savor the freedom of open waters without issues. Over time, batteries age and lose power, even when they're just sitting on the shelf. Regular checks are essential, regardless of your battery's age. Ensuring battery voltage does not drop significantly underload can help safeguard performance and longevity. While the allure of freedom beckons, let's guarantee our safety by inspecting them often for shock or vibration damage. When it comes to charging, compatibility is vital. Using chargers that aren't suited for our battery types can lead to inefficiencies or damage. We should always guarantee our chargers match the battery type and size, like precision chargers that maintain our batteries in top condition. These high-quality chargers, especially those with float modes, can keep our batteries healthy for a longer time, giving us more adventures on the water. With the right approach, we'll be ready for the next escapade.
Wiring and Connection Checks

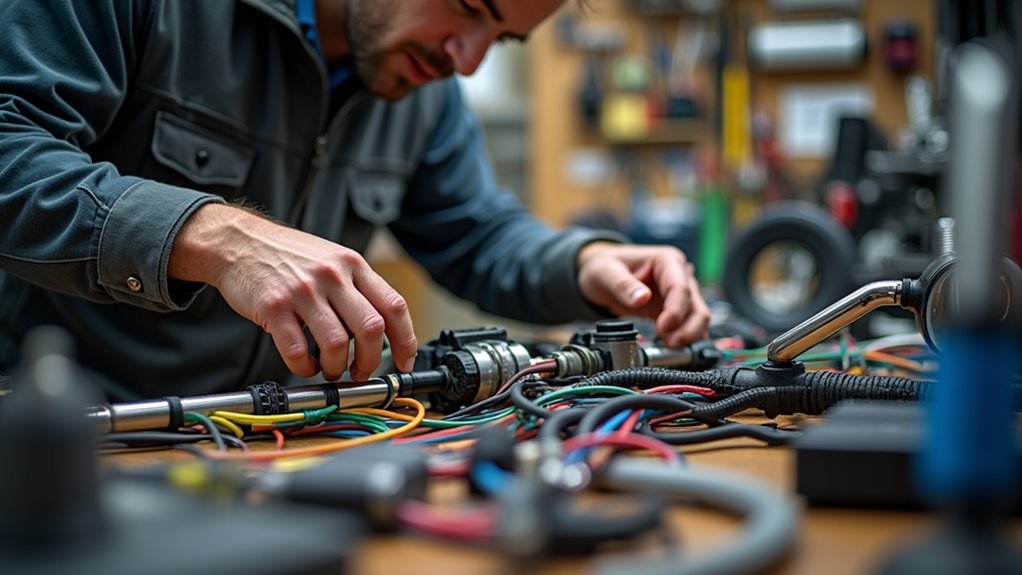
When it comes to guaranteeing our trolling motor runs smoothly, wiring and connection checks are essential. We're aware of the desire to set sail can be strong, but without proper checks, we might end up adrift.
So, let's plunge into what we need to do:
- Inspect the wiring: Look out for visible damage like cracks, frays, or burnt areas. Verify the wire insulation is intact to prevent any overheating or shorts.
- Test connections: Use a multimeter to make sure voltage levels are consistent between the battery and the motor. We've found that tight, secure connections keep everything flowing smoothly. To prevent corrosion, remember to use connector sealing for added protection.
- Check terminals and connectors: Clean those dirty or corroded areas with a steel brush. This step guarantees no voltage drops, and don't hesitate to replace any damaged parts. Remember, the rotary switch plays a crucial role in selecting motor speed, so ensure it is properly connected and functioning as part of the wiring checks.
It's all about taking control. By keeping an eye on these wiring and connection details, we're setting ourselves up for a worry-free boating experience.
Each step we take is one more knot in our quest for the open waters, with freedom just beyond the horizon.
Propeller Troubleshooting

Let's explore the fundamentals of propeller troubleshooting to keep our trolling motor in top condition. When issues arise, we must first consider propeller balancing and shaft alignment. These are vital for smooth operation. If our motor stalls, one sneaky culprit could be a fishing line tightly wrapped around the shaft. It's a quick fix: just remove the propeller and clear any debris, making sure we examine the propeller and shaft carefully. Ensuring the battery voltage is sufficient, as low voltage can prevent the motor from functioning correctly, is another important consideration.
After reassembling, don't forget to inspect the propeller drive pin. A worn or damaged pin can throw everything off, so replace it if needed and check that it aligns properly. Testing the motor afterward confirms all is well.
Here's a table to sum it up:
| Common Issue | Solution |
|---|---|
| Propeller Jamming | Remove debris & check the shaft |
| Drive Pin Wear | Replace and align the pin |
| Water in Lower Unit | Inspect seals and replace if needed |
| Shaft & Bearing Wear | Lubricate, align, or replace |
If we're still facing woes, let's inspect the lower unit for water damage or discoloration near the bolts. By carefully maintaining shaft and bearing lubrication, avoiding misalignment, and addressing any lurking issues promptly, we'll confirm our motor sails smoothly. Happy troubleshooting!
Motor Overheating Solutions

After ensuring our propeller is in ideal condition, we must tackle another common issue: motor overheating. This problem might seem intimidating, but with a little know-how, we can navigate these waters with ease.
Overheating often arises from bad connections and undersized wires, so let's delve into some straightforward solutions:
- Inspect Connections: Check connections on the breaker and battery for rust or signs of wear. Corrosion can lead to excessive current draw, causing our motor to overheat. Cleaning and securing these connections using steel brushes is key.
- Wires and Plugs: Faulty wiring may be another heat-generating culprit. We should examine wires for damage and replace any undersized or corroded connectors. Let's not forget to look at the motor plug and connector. An undersized wire can cause a significant increase in resistance, leading to dangerous levels of heat and potential damage to the motor system.
- Circuit Components: Consider using coolant systems or thermal sensors. They can prevent overheating by efficiently managing heat and ensuring our trolling motor stays cool under pressure.
Speed Control Fixes

When we experience speed control issues, switch diagnostics are our first stop. Bad rotary switches might be stopping our motors from hitting every speed we need. To check, we want to bypass the rotary switch, which means disconnecting the motor from power and accessing the wires in the control box. A multimeter can help us determine if the switch is faulty. If it is, replacing it should restore smooth operation.
Motor calibration is also key. Sometimes, speed coils or wiring might be the culprits. Are there any loose connections or melted wires? Checking the wiring diagram and ensuring all connections are correct can catch these issues. Corrosion can also mess with speed, so cleaning or replacing damaged parts is essential.
Regular maintenance is crucial to prevent decreased power, which can be caused by undercharged batteries or damaged parts. We should test the motor by connecting power directly to the lead wires, making sure to isolate positive and negative wires to avoid short circuits. Testing different speeds will help us identify if the rotary switch or wiring is at fault.
Steering and Direction Issues

Traversing the unpredictable waters of steering and direction issues demands diligence, but with a systematic approach, these challenges are manageable. Let's plunge into the heart of these issues to guarantee our journeys remain smooth and free.
First, let's focus on cable wear. It's vital to inspect our steering cables for any signs of fraying, cuts, or general wear. They need to be in top condition to maintain reliable direction.
In addition to cable inspection, let's make sure our sensors are functioning correctly. Sensor calibration plays a significant role in how accurately our motor responds to steering commands. If our steering seems unresponsive or moves in unintended directions, a faulty sensor might be the culprit. Regular maintenance and troubleshooting skills like those acquired during naval service can ensure that our equipment remains in top form.
Here's a three-step plan to take control:
- Inspect Connections: Check for loose or corroded connections that might interfere with steering signal transmission.
- Voltage Test: Measure the DC voltage at the control board while moving the pedal, checking for any anomalies.
- Sensor Evaluation: Test the steering sensor with remote steering or disconnect the i-Pilot Link to determine if it's causing issues.
Noise and Vibration Reduction

As we navigate the world of trolling motors, controlling noise and vibration is essential for performance and comfort. Let's dig into some effective strategies, starting with regular component inspection. Loose bolts, screws, or even the propeller can produce unwanted noises and vibrations, hurting our motor's efficiency.
To maintain smooth sailing, we need to tighten these components regularly. Also, let's clear any debris from the propeller—rocks, weeds, and dirt can cause unnecessary strain and noise, which isn't what freedom on the water should feel like.
Mounting optimization plays a big role in reducing vibration. Utilizing traction pads, rubber washers, and guaranteeing mounting bolts are secure help us tame those disruptive vibes. Products like TH Marine's G Force Eliminator can further help by harmonically balancing our motor and improving overall efficiency. Furthermore, making sure parts are correctly aligned can prevent misalignment issues that often lead to noise.
Moreover, worn bearings can be a sneaky source of noise, leading to grinding sounds as they age. A DIY replacement can restore quiet sailing, or we might opt for professional help.
Frequently Asked Questions
How Can I Prevent Trolling Motor Issues Before They Start?
Let's prevent trolling motor issues by performing regular inspections and ensuring proper storage. We'll maintain battery care, check cable connections, and clean the motor. This proactive approach keeps us free on the water, enjoying smooth, uninterrupted adventures.
What Maintenance Schedule Should I Follow for My Trolling Motor?
Let's keep our trolling motor in top shape by following a regular maintenance schedule. We'll inspect the battery, clean the propeller after each adventure, and perform seasonal checks. This way, we'll enjoy trouble-free journeys.
How Do I Choose the Right Size Trolling Motor for My Boat?
We determine motor thrust and match it to our boat size, using the rule of 2 pounds of thrust per 100 pounds of boat weight. Let's guarantee our motor has the power, so we're ready for adventure.
Can a Trolling Motor Be Used in Both Freshwater and Saltwater?
Did you know 50% report issues with freshwater motors in saltwater? We can use them, but we must address corrosion risks and guarantee material durability. To sail freely, let's prioritize maintenance and cautious usage in saltwater.
What Are the Signs That My Trolling Motor Needs Professional Servicing?
We should watch for motor noise, battery drain, and any odd vibrations. If steering becomes difficult or if there's visible damage, let's consider professional servicing. It's essential for seamless adventures and to keep our freedom on the water.
Conclusion
We've tackled the mystery of trolling motor issues together, haven't we? By keeping a close eye on the battery, wiring, and connections, and making sure the propeller is free of debris, we're ensuring our adventures on the water are smoother than the calmest seas. With our newfound knowledge, we can tackle any hiccup that comes our way, turning problems into mere ripples. Remember, a little maintenance goes a long way in making every boating trip a breeze!