Your trolling motor foot pedal giving you the silent treatment? We’ve all been there – standing on the deck, pressing that pedal like it owes us money, and getting absolutely nothing in return. Before you chuck the whole setup overboard, let’s talk reality. Most foot pedal failures boil down to corroded battery connections, loose wiring, or blown fuses. These aren’t rocket science problems, but they’ll strand you faster than you can say “dead battery.”
Check Battery Connections and Power Supply Issues
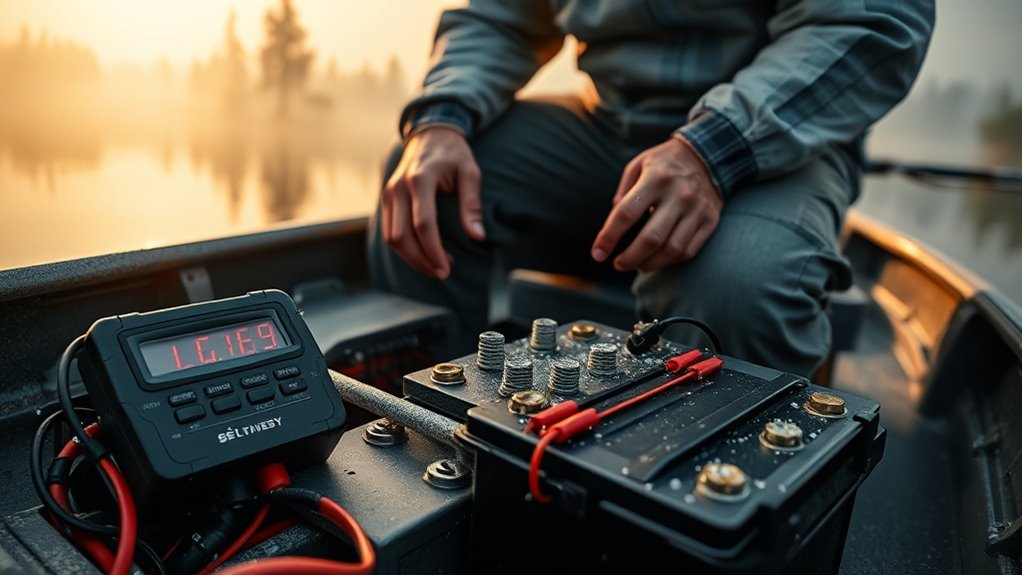
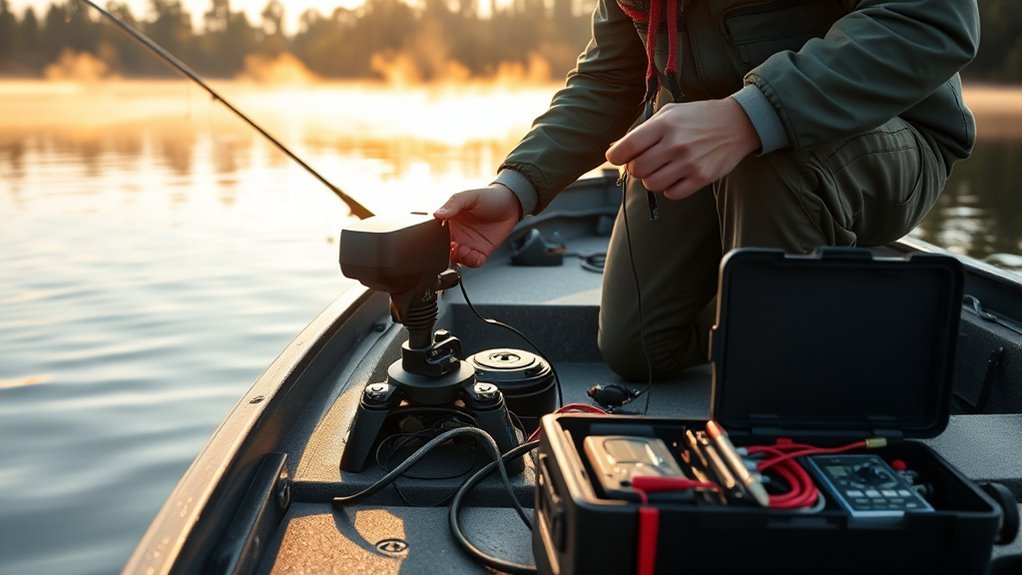
The frustration of a dead trolling motor foot pedal usually boils down to one culprit: power problems. Your electric trolling motor won’t budge if it’s not getting juice. Start with the obvious stuff—battery connections. Look for that green, crusty corrosion on battery poles. It’s like kryptonite for power flow. Check if your battery’s actually charged and showing 12 volts. Shocking concept, right? Grab a wire brush and scrub those terminals clean. No voltage at the motor’s red and black wires? That’s your smoking gun. Double-check polarity too—reversed connections will kill your 12-volt power supply faster than you can say “dead battery.” Sometimes the simplest fixes are hiding in plain sight. To ensure optimal performance, regularly monitor voltage under load as part of your routine checks.
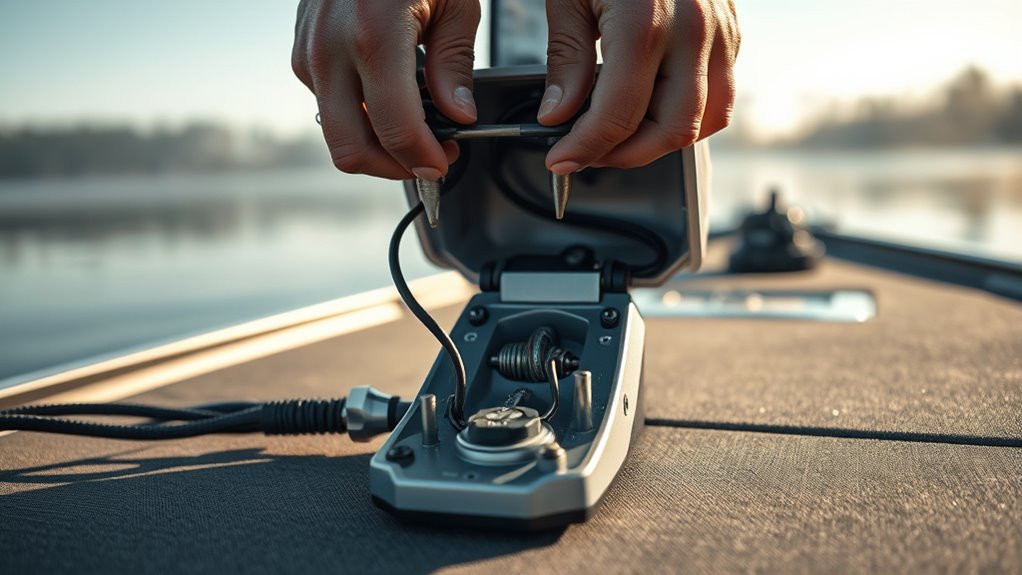
Inspect Foot Pedal Wiring and Cable Connections
Once you’ve ruled out battery drama, it’s time to get up close and personal with that foot pedal wiring.
Your trolling motor might be fully charged and the battery looks good, but those connections? They’re sneaky little troublemakers.
Start by powering down completely.
Hot plugging while your motor’s running is basically asking for trouble.
Check where you plugged it back into the system – bent pins are more common than you’d think.
Nobody wants to admit they forced a connection.
Here’s your inspection checklist:
- Cable connections – wiggle test both ends for looseness
- Wiring under the boat – hunt for corrosion, wear, or damage
- Pulley track alignment – verify the cable sits properly
Even when everything works fine topside, underwater wiring tells a different story. Regularly inspecting connections with a multimeter to test voltage can help identify any issues early.
Test for Blown Fuses and Internal Circuit Problems
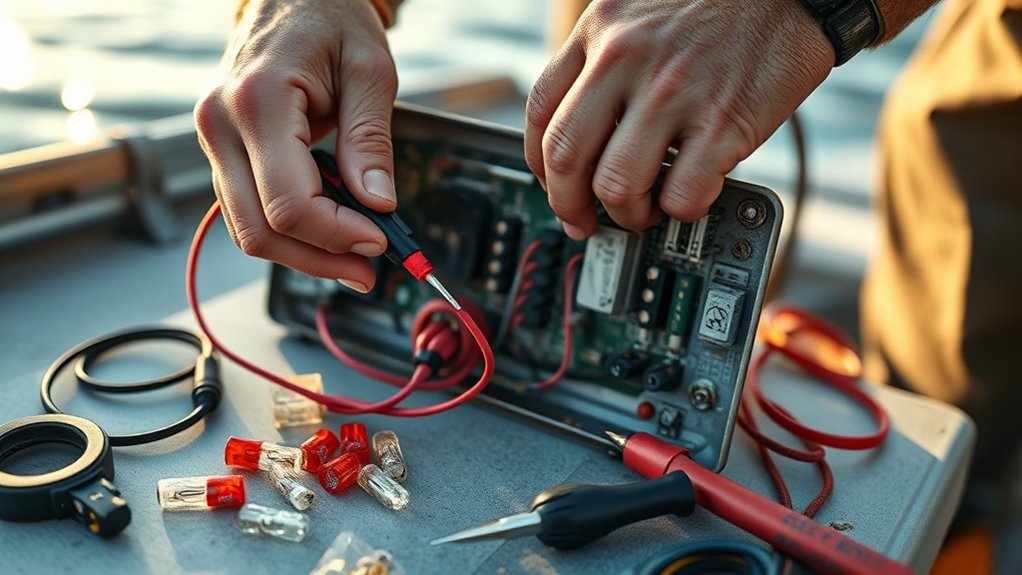
Why didn’t we think of this sooner? Blown fuses are sneaky little troublemakers. Remove that top cap and inspect the internal fuse – it’s probably the culprit behind your dead foot pedal. Here’s a classic Humminbird Tips and Tricks move: use a multimeter to check continuity. No lights on the test button? Yeah, that’s a blown fuse screaming for attention. Check those red and black wires for voltage. Nothing? Bingo. Internal circuit problem. Make sure to examine the wiring for corrosion – it loves to provide chaos. Power Drive V2 models are notorious for this. Use your voltmeter on battery connections too. Voltage drops help identify the real problem. One screw to keep everything secure, and you’ll improve your pedal’s responsiveness dramatically. Additionally, regularly clean battery terminals to prevent ongoing corrosion and ensure reliable electrical connections.
Diagnose Communication Failures Between Components
How’s this for frustrating? Your trolling motor and foot pedal are giving each other the silent treatment.
Communication failures between components usually boil down to one culprit: bad wire connection issues.
Start with cable inspection.
Look for damaged wires running from your motor to the MFD head unit.
These cables take a beating out there.
- Clean all connectors with WD-40, especially after saltwater exposure
- Check for loose or corroded connections that disrupt signals
- Verify cables aren’t worn or damaged from environmental factors
Sometimes it’s not the hardware.
Software glitches in your MFD can kill the connection completely.
Try a software update via WiFi before you start replacing expensive parts.
Those intermittent disconnections? They’re almost always traced back to sketchy wire connections.
To protect your motor’s components, regularly implement regular cleaning after exposure to harsh environments.
Resolve Motor Positioning and Steering Cable Issues
Now we’re getting to the meat of the problem—when your foot pedal won’t actually steer the motor where you want it to go.
We’ll start by checking those cable attachment points at both the pedal and motor, because surprise, they love to work loose or snap at the worst possible moments.
Then we’ll tackle pulley track realignment and dial in that adjustment screw, because apparently these things need more babysitting than a toddler.
Also, verify the motor’s depth setting using the depth adjustment collars to ensure nothing is obstructing the steering mechanism.
Cable Attachment Point Inspection
Start by flipping that foot pedal upside down and getting your hands dirty—we’re diving into the guts of this thing to figure out why your steering’s gone rogue.
Cable attachment points fail more often than you’d think.
Look for these common problems during your cable inspection:
- Loose connections at the foot pedal where the steering cable meets the housing
- Broken attachment points at the motor end that prevent proper communication
- Misaligned cables that have jumped out of the pulley system track
Check every connection point.
Seriously.
That cable breakage you’re dealing with probably happened right where the cable connects to either end.
Secure fastening is everything in these systems.
Cables stretch, slip, and work themselves loose over time.
It’s annoying, but fixable.
Pulley Track Realignment
The steering cable’s probably jumped out of its pulley track—and yeah, that’s exactly as frustrating as it sounds.
We’ll need to review or change the cable position immediately.
First, loosen that adjustment screw—don’t overthink it.
Carefully reposition the cable back into the groove where it belongs.
This step will improve your motor’s steering response dramatically.
Tighten everything back up, but here’s the thing: snug, not death-grip tight.
Over-tightening leads to more problems down the road.
Check both attachment points at the pedal and motor—they better be secure.
Use them to provide proper tension control over the optional adjustments.
After realignment, monitor for stretching during use.
Features such as maps and videos won’t help here; hands-on inspection will provide and improve your trolling motor’s performance.
Adjustment Screw Calibration
Getting that cable back in the groove won’t mean much if your adjustment screw’s out of whack.
This calibration step separates the pros from the weekend warriors who’ll be manually turning their motors all day.
Start by loosening the adjustment screw.
Yeah, counterintuitive, but trust the process.
This lets you realign that steering cable on the pulley properly—it’s probably slipped because these cable-steer systems love doing that.
Here’s your calibration checklist:
- Verify motor head gears are meshed correctly before touching the screw
- Snug the adjustment screw carefully—don’t Hulk-smash it tight
- Check cable attachment points at both foot pedal and motor
Cables stretch over time, so monitor that tension regularly.
Otherwise, your foot pedal becomes an expensive paperweight.
Address Electrical Interference With Fish Finders
We’re dealing with electrical interference that turns your Humminbird fish finder into expensive junk every time you hit that trolling motor pedal.
The interference shows up worst in dirty water, killing your depth sonar and down imaging right when you need them most.
Let’s identify what’s causing this mess, get some choke rings installed, and check those battery connections before you throw the whole setup overboard.
Identify Interference Sources
Several culprits can turn your peaceful fishing trip into a technological nightmare when your trolling motor starts wreaking havoc on your fish finder’s display.
Let’s hunt down these interference sources before you throw your Humminbird overboard.
The usual suspects behind electromagnetic noise include:
- Blown fuse in the trolling motor head – Test it with a multimeter for continuity
- Shared battery between your fish finder and trolling motor – This amplifies interference like crazy
- Poor transducer setup – Strapping it directly to the motor picks up electrical noise
Your trolling motor pedal might be innocent here.
Sometimes the real villain is elsewhere.
Humminbird tosses you free choke rings to wrap around cables. Smart move on their part.
These ferret rings help filter interference and identify problem sources.
Install Choke Rings
Choke rings are your secret weapon against this electrical chaos, and Humminbird hands them out for free.
These little lifesavers wrap around your trolling motor and fish finder cables, filtering out the electromagnetic noise that’s wreaking havoc on your sonar.
Installation? Dead simple.
Slip them over the affected wires and make sure they’re snug.
That’s it.
The payoff is immediate.
Your depth sonar stops glitching.
Down imaging clears up.
No more static when you hit the pedal in murky water.
Users swear by them, and honestly, it’s hard to argue with free.
Contact Humminbird support to snag yours.
They know electrical interference between motors and fish finders is a common headache, so they’ve made the solution stupidly easy to get.
Check Battery Connections
Why does your fish finder act like it’s having a seizure every time you fire up the trolling motor?
Welcome to the wonderful world of electrical interference.
Bad battery connections are the usual suspects here.
First, grab a wire brush and clean those battery terminals.
Corrosion builds up faster than your buddy’s fish stories, and it creates electrical noise that makes your sonar go haywire.
Don’t skip this step.
Next, check your quick-disconnect plugs.
Dirt and damage turn these into interference factories.
Key steps for clean connections:
- Clean terminals with wire brush to eliminate corrosion
- Inspect quick-disconnect plugs for dirt or damage
- Verify all connections are tight and secure
Power fluctuations from loose connections will mess with your fish finder’s accuracy every single time.
Perform Complete System Reset and Power Cycle
Power down everything.
Your trolling motor needs a complete system reset, and we’re going old school here.
Turn off the main power switch at the battery first.
Don’t rush it.
Wait at least 30 seconds to discharge residual energy – this isn’t optional.
Disconnect the foot pedal and any related components while the power’s off.
Hot plugging disrupts internal connections, and frankly, that’s probably what got you here.
Check that all lights and indicators are completely off before restarting. No cheating.
This power cycle clears temporary electronic glitches that make your foot pedal non-responsive.
Older models like the Power Drive V2 respond well to this treatment.
Sometimes the simplest fix works best.
Frequently Asked Questions
How to Pair Force Trolling Motor to Foot Pedal?
Like matching puzzle pieces, we’ll guarantee Force compatibility by powering off first, checking connections, then activating Bluetooth pairing mode for wireless linking and motor syncing through proper pedal integration and device coupling.
How to Work Trolling Motor Foot Pedal?
We’ll guide you through pedal maintenance, wiring basics, and speed options. Proper battery life management, steering tips, noise reduction techniques, and custom modifications guarantee your foot pedal operates smoothly and efficiently.
Why Is My Olympus Foot Pedal Not Working?
We’ll diagnose your Olympus troubleshooting issues by checking for battery failure, wiring defects, signal interference, firmware glitch, and hardware defects during pedal diagnostics to restore functionality.
How to Adjust Minn Kota Foot Pedal?
We’ll adjust your Minn Kota by loosening the cable tightening screw, realigning the pedal alignment on pulleys, then retightening for proper tension settings and smooth control mechanism operation.